
Kubernetes is a container orchestrator that automates the process of deploying and scaling containerized applications. It allows you to operate production apps with high availability, fault tolerance, and advanced rollout deployment strategies that help mitigate the effects of errors.
This article explores the benefits of blue-green deployments and discusses three key ways to implement them in Kubernetes. Let’s get started!
What we will cover:
What is blue-green deployment in Kubernetes?
Blue-green deployment is a popular deployment strategy in Kubernetes that runs two versions of your app side-by-side, with traffic directed to the old release until you promote the new one. It improves the operational resilience of your Kubernetes workloads, allowing developers to safely test the new deployment in your production cluster without immediately exposing the changes to users.
How do blue-green deployments work?
Blue-green deployments work by maintaining two production environments: blue (live) and green (idle or staging), and switching traffic between them to release changes with minimal downtime and risk.
In practice, the current version of the application runs in the blue environment. When a new version is ready, it is deployed to the green environment, which is tested in isolation. Once validated, the traffic is switched from blue to green, often via load balancer or DNS changes. If issues arise, traffic can quickly revert to blue, providing a fast rollback path.
Green deployments are accessible to your developers and QA team, allowing changes to be tested and verified. Once the tests are complete and you’re satisfied no faults will be introduced, you can promote the green deployment. Promotion replaces the old blue deployment and resets the cycle, ready for the next release.

To summarize the blue-green deployment in Kubernetes:
- The blue environment is launched and serves all production traffic.
- Deploying an update leaves the blue deployment untouched but creates an additional Green environment that runs the new code.
- Tests are executed against the green deployment to detect bugs and regressions in a production-like environment.
- The green deployment is promoted, becoming the new blue deployment that serves production traffic.
Using blue-green deployments allows you to improve the safety and reliability of a critical production environment that can’t tolerate faults. If an error is detected in the green environment, then you can roll back or prepare another update without negatively affecting the user experience.
How to implement a blue-green deployment in Kubernetes?
Kubernetes provides a convenient platform for implementing blue-green deployments. Its service-based networking model lets you route incoming traffic between different deployments, such as your blue and green releases, or you can use popular ecosystem tools to declaratively configure your rollout strategy and benefit from automated management.
Three of the main ways to run blue-green deployments in your cluster include:
- Manually set up using a Kubernetes Service
- Using Argo rollouts
- Using Flux CD and Flagger
Manual blue-green deployments using a Kubernetes Service
It’s straightforward to set up blue-green Kubernetes deployment yourself by changing the destination of the service that serves your production traffic. With this strategy, each new release is assigned a unique label; once it’s ready to be promoted to a production environment, the service is updated, so it selects pods with that label.
1. Create the blue deployment
First, create a deployment for the blue release – this is the deployment that will initially serve your users:
apiVersion: apps/v1
kind: Deployment
metadata:
  name: demo-app-blue
spec:
  replicas: 3
  selector:
    matchLabels:
      app: demo-app
      release: v1
  template:
    metadata:
      labels:
        app: demo-app
        release: v1
    spec:
      containers:
        - name: nginx
          image: nginx:alpine
          ports:
            - containerPort: 80
Use Kubectl to create the deployment in your cluster:
$ kubectl apply -f deployment-blue.yaml
deployment.apps/demo-app-blue created
2. Create the blue service
Next, write the manifest for the service that routes the traffic to your deployment:
apiVersion: v1
kind: Service
metadata:
  name: demo-app-blue
spec:
  selector:
    app: demo-app
    release: v1
  ports:
    - protocol: TCP
      port: 80
      targetPort: 80
The service selects pods with the release: v1 label that we assigned to the blue deployment above.
Add the Service to your cluster:
$ kubectl apply -f service-blue.yaml
service/demo-app-blue created
Now, your users can reach your live deployment by connecting to the service on port 80.
3. Create the green deployment
Because the green deployment is kept completely separate from the blue one, you can configure it in whichever way you require for the new version of your application.
In this example, we’re simply changing the container image that will be deployed, but you may also require other changes when you make more substantial updates to your app. The release label must also be updated to distinguish the new green deployment from the existing blue one.
apiVersion: apps/v1
kind: Deployment
metadata:
  name: demo-app-green
spec:
  replicas: 3
  selector:
    matchLabels:
      app: demo-app
      release: v2
  template:
    metadata:
      labels:
        app: demo-app
        release: v2
    spec:
      containers:
        - name: nginx
          image: httpd:alpine
          ports:
            - containerPort: 80
Create the deployment now:
$ kubectl apply -f deployment-green.yaml
deployment.apps/demo-app-green created
5. Test your deployments
You can now test your deployments to see your blue and green releases in action. For the purposes of this tutorial, you can use Kubectl port-forwarding to connect.
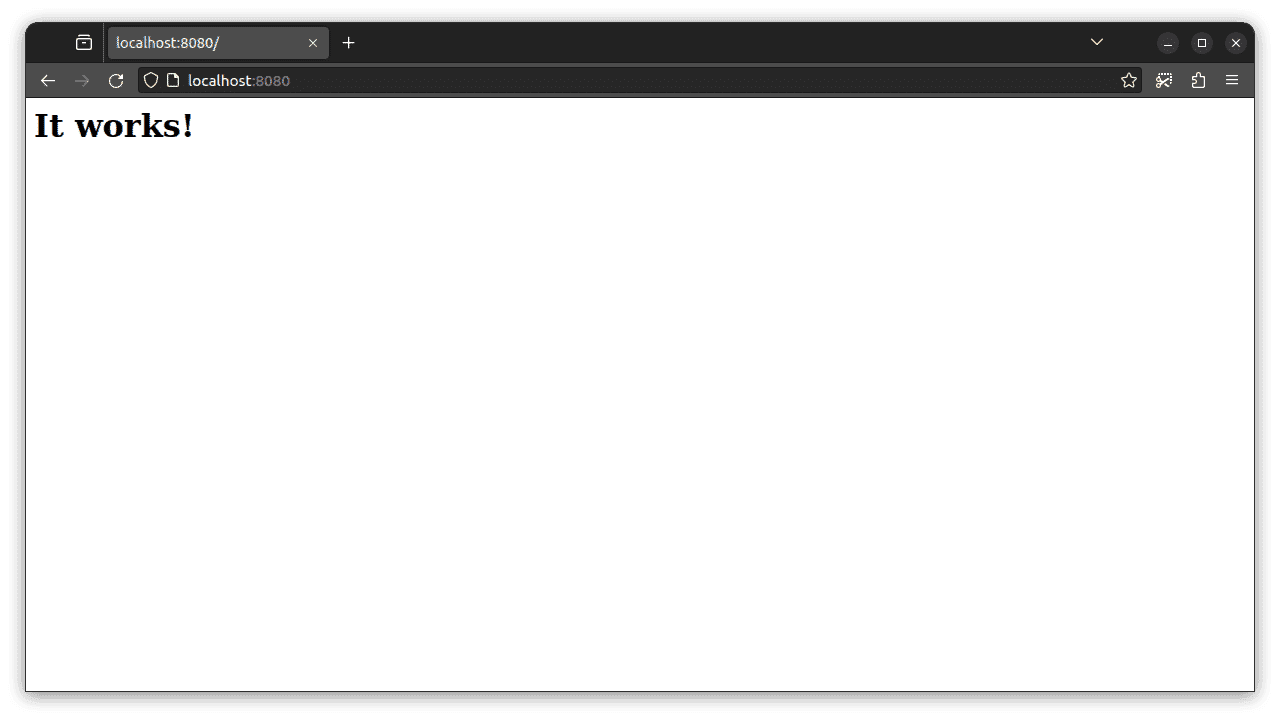
First, try interacting with the service you created—this routes traffic to your blue deployment and should be exposed to your production traffic. The following command will make the service accessible on localhost:8080:
$ kubectl port-forward svc/demo-app-blue 8080:80
Forwarding from 127.0.0.1:8080 -> 80
Forwarding from [::1]:8080 -> 80
Visiting localhost:8080 in your browser should display the default NGINX landing page because the blue deployment is configured with the nginx container image.

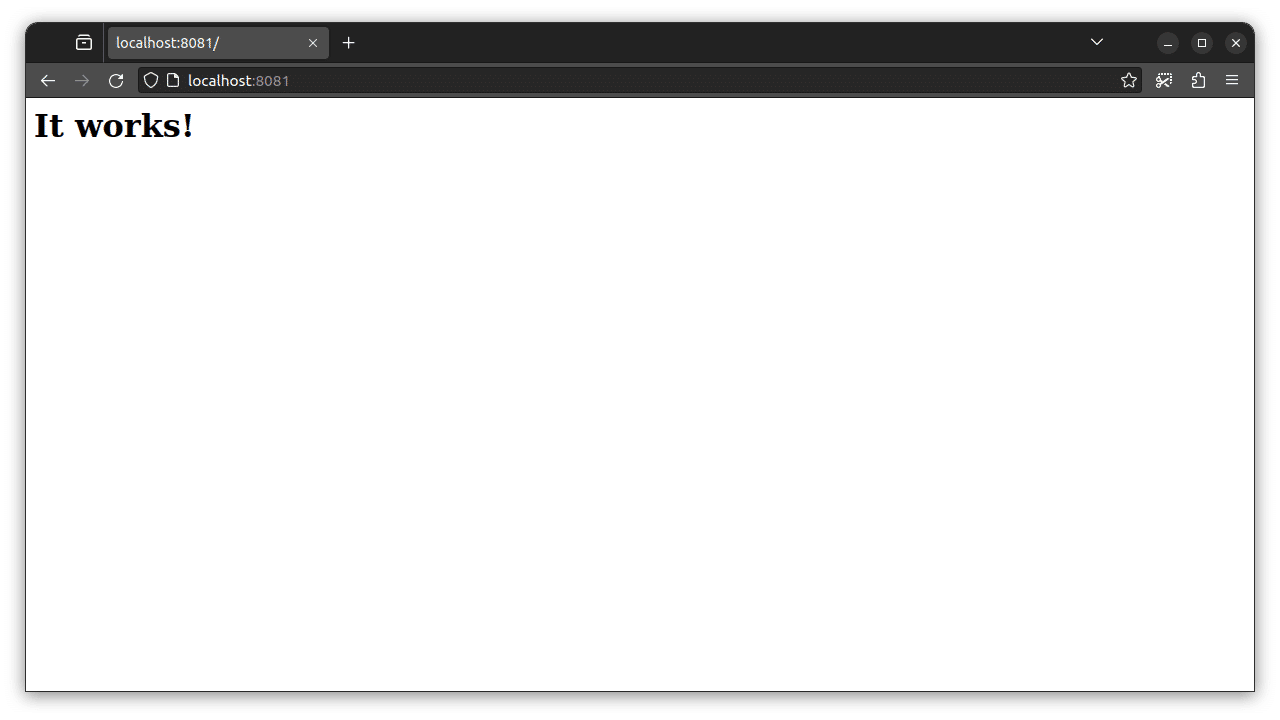
Next, try your green deployment — you could create a second service that exposes it, or you can use Kubectl port-forwarding to connect directly to the deployment’s pods. This isn’t suitable for production use, but it’s adequate for quick testing:
$ kubectl port-forward deployment/demo-app-green 8081:80
Forwarding from 127.0.0.1:8081 -> 80
Forwarding from [::1]:8081 -> 80
You’ll find the default Apache “it works” page is now served at localhost:8081, proving the changes made in the green deployment have been effective:
6. Promote your green deployment
Now, you’re ready to promote your green deployment so it becomes blue. To do this, you can simply modify your service’s manifest, so it selects pods labeled release: v2 instead of the original release: v1:
apiVersion: v1
kind: Service
metadata:
  name: demo-app-blue
spec:
  selector:
    app: demo-app
    release: v2
  ports:
    - protocol: TCP
      port: 80
      targetPort: 80
Use Kubectl to apply the changes to the service:
$ kubectl apply -f service-blue.yaml
service/demo-app-blue configured
Connecting to the service will now display the Apache page instead of the NGINX one. The service is directing its traffic to the second deployment, which runs Apache and not NGINX.
You can now delete your original blue deployment object and start a new development cycle.
Note: As the steps in this tutorial show, your releases don’t have to be named “blue” and “green.” It’s often simpler to use incrementing version numbers for each release. The blue-green deployment workflow simply refers to there being two active deployments at each time, only one of which is exposed to users, with support for down timeless switches between them.
Blue-green deployments with Argo Rollouts
Manually managing dDeployment objects and service manifests to enable blue-green deployments can be complex for larger apps. Argo Rollouts is a tool that simplifies the process by providing a Kubernetes controller and set of CRDs that let you declaratively configure your blue-green deployments and initiate promotions and rollbacks.
Once you’ve installed Argo Rollouts in your cluster, you can create a Rollout object to set up your deployments. Argo will create and manage the required ReplicaSets and services for you, including a live service that serves your users and a preview service for development testing of the green release.
A basic blue-green Rollout manifest resembles the following:
apiVersion: argoproj.io/v1alpha1
kind: Rollout
metadata:
  name: demo-app
spec:
  replicas: 3
  selector:
    matchLabels:
      app: demo-app
  template:
    metadata:
      labels:
        app: demo-app
    spec:
      containers:
        - name: nginx
          image: nginx:alpine
          ports:
            - containerPort: 80
  strategy:
    blueGreen:
      activeService: demo-app-blue
      previewService: demo-app-green
You can then create new releases by modifying the pod configuration defined by the Rollout’s spec.containers field. Argo will automatically create a new green deployment that can be accessed via the demo-app-green service; once you promote the rollout from the Argo CLI, it will become the new blue deployment.
Blue-green deployments with Flux CD and Flagger
Flux CD, with its Flagger component, provides another automated progressive delivery experience that acts as an alternative to Argo Rollouts. It integrates with popular service mesh solutions, including Istio and Linkerd, to offer simplified blue-green deployments without the hands-on management of Kubernetes Services.
Flagger includes a single custom resource called Canary. You create Canary objects to configure your deployments, including their rollout strategies and automated promotion criteria. Despite its name, Canary also allows you to implement blue-green deployments and will create appropriate Kubernetes deployment and service objects in your cluster.
What are the advantages of blue-green deployments?
Blue-green deployments bring several benefits to the software delivery process, combining ease of deployment with high reliability. They allow safe production testing, immediate rollbacks on failure, and downtime-free release promotion, ensuring infrastructure compatibility and minimizing user disruption.
| Blue-green deployments advantages | |
| Safe production tests | You can test new deployments in production to ensure infrastructure compatibility and detect environment-specific bugs without impacting any users. |
| Immediate rollbacks on failure | If faults do occur, you can immediately roll back, investigate, and prepare a new update without risk of customer disruption. |
| Downtime-less release promotion | Once a green deployment has been verified, you can usually switch production traffic to it with zero downtime. |
| Combined ease of deployment and reliability | Blue-green deployments provide the flexibility to rapidly move software toward production without actually rushing unproven updates straight through to users. |
These advantages mean blue-green deployments are an ideal strategy for teams that want to continually deliver to production but can’t accept the risk that releases may fail in ways not detected during development.
What are the disadvantages of blue-green deployments?
Despite their compelling strengths, blue-green deployments have some drawbacks:
Blue-green deployments in Kubernetes can be resource-intensive as two full versions of the application must be run simultaneously, which doubles the resource usage. Additionally, managing traffic routing between the blue and green environments can be complex and may introduce potential downtime or errors if not handled correctly.
| Blue-green deployments disadvantages | |
| All or nothing | With blue-green deployments, real users only ever interact with one version of your app. You can’t expose access to a new release to a subset of users, so some problems could still go unnoticed. |
| Schema upgrades can mean downtime is required | If you have database schemas that must be upgraded to support the new version, promoting a green deployment to blue may require downtime. |
| High costs | Running two independent instances of your system demands extra resources that could significantly raise your operating costs. |
Even with these limitations, blue-green deployments remain a favorable deployment technique for many kinds of apps. However, they’re generally the easiest to configure and most cost-efficient when used with relatively simple systems that have no complex infrastructure requirements.
What are the alternatives to blue-green deployments?
Blue-green deployments aren’t the only advanced rollout strategy available for your Kubernetes workloads. You can also choose from alternatives including:
- Canary deployments: A small proportion of traffic is directed to the new deployment, increasing over time if no failures are detected. This enables automated progressive delivery with a high degree of safety.
- A/B deployments: Commonly used to test the performance of different feature variations, A/B deployments allow you to direct different user groups to specific deployment revisions.
- Best-eEffort rollouts: The rollout is configured to proceed as fast as possible, but you can specify the maximum number of replicas that can become unavailable. This ensures sufficient capacity remains to serve user requests received during the rollout.
- Rolling update: App replicas are gradually replaced with ones that run the new rolling deployment, requiring no downtime — this is the default strategy used by the Kubernetes Deployment object.
The technique to use depends on your requirements for rollout speed, reliability, and traffic weighting. Blue-green deployment is the best option when safety is your top priority: New releases are initially inaccessible to users, unlike the other options on this list.
Kubernetes + Spacelift
If you need any assistance with managing your Kubernetes projects, take a look at Spacelift. It brings with it a GitOps flow, so your Kubernetes Deployments are synced with your Kubernetes Stacks, and pull requests show you a preview of what they’re planning to change.
To take this one step further, you could add custom policies to harden the security and reliability of your configurations and deployments. Spacelift provides different types of policies and workflows easily customizable to fit every use case. For instance, you could add plan policies to restrict or warn about security or compliance violations or approval policies to add an approval step during deployments.
You can try it for free by creating a trial account or booking a demo with one of our engineers.
Key points
We’ve explored the blue-green deployment strategy, a popular approach to launching app updates that run two versions side-by-side as two identical production environments. The blue deployment serves production traffic, while the fresh green deployment is used by your developers to complete reliability tests. This provides a final opportunity to detect bugs before users encounter them.
Blue-green deployment is an ideal way to maximize the health of your apps running in Kubernetes. Furthermore, Kubernetes makes it easy to get started with blue-green deployments, so the tool and strategy complement each other closely. You can implement blue-green deployment yourself by configuring Kubernetes services, or you can use dedicated controllers like Argo Rollouts and Flagger to simplify your experience.
Manage Kubernetes Faster and More Easily
Spacelift allows you to automate, audit, secure, and continuously deliver your infrastructure. It helps overcome common state management issues and adds several must-have features for infrastructure management.
