Note: This article shows the outdated method of running workers on Kubernetes. For the latest recommended approach, please refer to our new blog post.
Deploying Spacelift Worker Pools via Spacelift on Kubernetes Clusters Provisioned by Spacelift
You are probably a bit confused by the description of the subtitle; stay with me! If you have not seen the latest news, Spacelift supports Kubernetes! Check out the announcement blog and documentation.
This blog aims to demonstrate the power of Spacelift by providing a view of how Spacelift uses Spacelift to provision Kubernetes clusters, a private worker pool, and Kubernetes deployments all within the same organization and structure.
To summarize, we are looking at the following objectives for Spacelift:
- Provision Kubernetes clusters
- Application
- Worker (pool)
- Setup Private Worker Pool
- Provision Spacelift Worker Pool
- Deploy Test Kubernetes Deployment
All of this via the most influential management platform for IaC!
Deploy and Manage Kubernetes Clusters
Spacelift supports externally deployed and provision Kubernetes clusters, but what is the fun in that! If you bring your own Kubernetes clusters, you can skip this step.
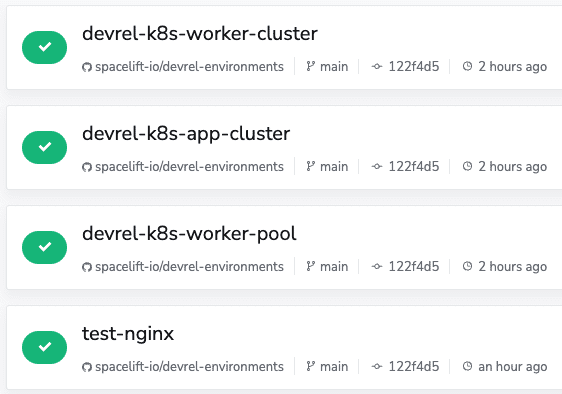
As mentioned previously, we need two Kubernetes clusters for this scenario. One will be utilized as the Worker pool cluster and the other for a test deployment of Nginx.
Due to the length of this blog, I opted to separate this specific step to keep things brief and clean. You can follow the steps in the blog titled Provision a Kubernetes Cluster with Spacelift and Terraform.
Setup Private Worker Pool
Certificate Signing Request
To ensure that we have no access to your private key, you will need to generate it on your end and use it to create a certificate signing request to give to Spacelift. We will create a certificate for you so that workers can use it to authenticate with the Spacelift backend. The following command will generate the key and CSR:
OpenSSL req -new -newkey rsa:4096 -nodes -keyout spacelift.key -out spacelift.csrYou should now store the spacelift.key file in a secure place. You’ll need it later when launching workers in your worker pool.
Private Key Encode
You need to encode the entire private key using base-64, making it a single line of text. The most straightforward approach is to just run something like cat spacelift.key | base64 -w 0 in your command line. For Mac users, the command will be something like cat spacelift.key | base64 -b 0.
Save the response in a safe place. You will need it shortly.
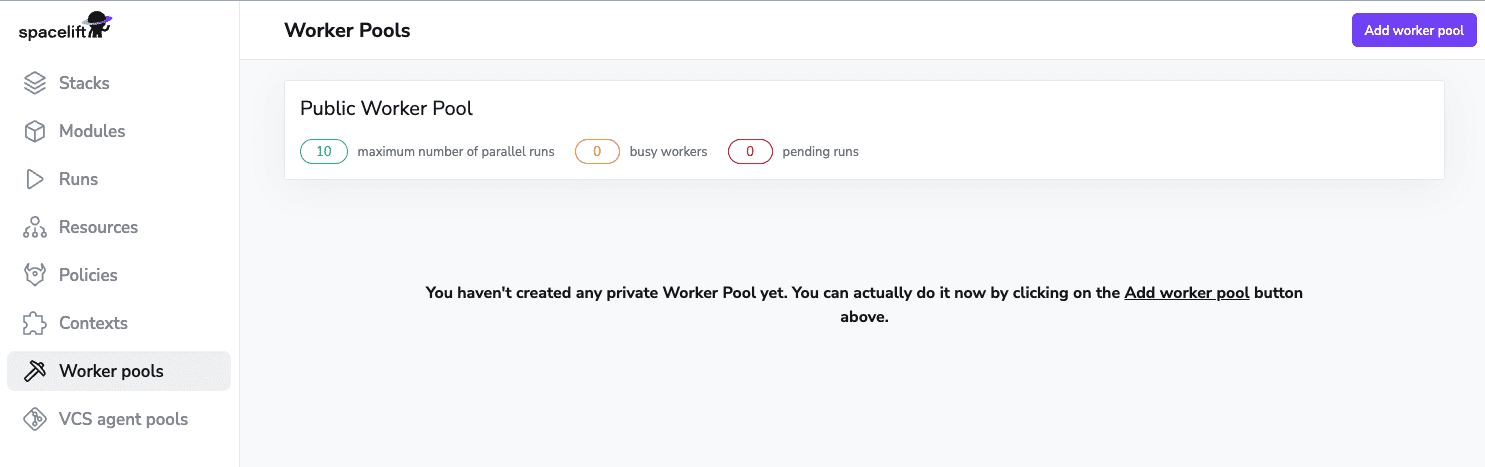
Add Worker Pool
From the Spacelift UI, navigate to the Worker Pool page by clicking the icon on the navigation bar. Choose the add worker pool button.
Create new worker pool
- Name: Name of your worker pool
- Your certificate: Upload the generated CSR that was created a few steps prior
- Labels: Optionally add labels
- Description: Optionally add a description
Name and Certificate are required.
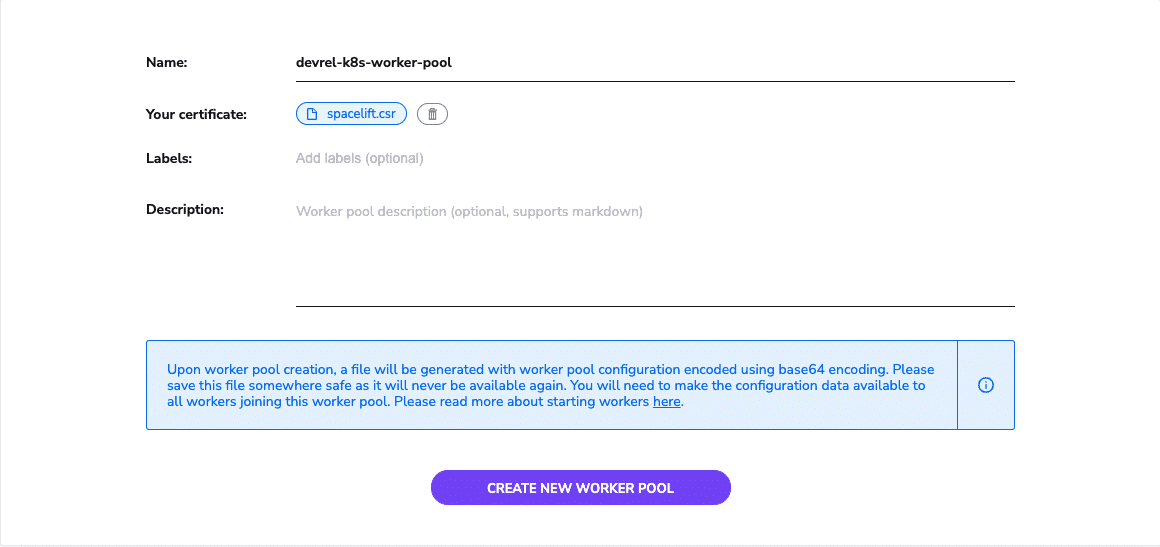
Now you can submit the spacelift.csr file in the worker pool creation form. In response, you will receive a Spacelift token and be taken to the newly created Worker Pool page.
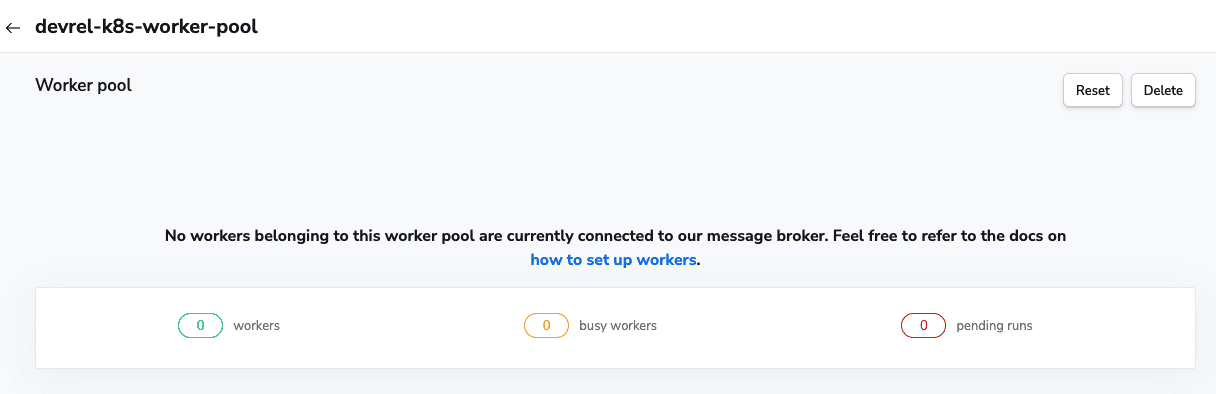
Now that we have the Spacelift token, we can proceed with deploying the Spacelift Worker pool.
Deploy Spacelift Worker Pool
Support for worker pools on Kubernetes is nothing new, and you can check out the repository for additional details.
Repository Creation
Start by creating a new repository for your Helm stack. This repository only needs to contain a single item – a kustomization.yaml.
apiVersion: kustomize.config.k8s.io/v1beta1
kind: Kustomization

namespace: spacelift-worker

resources:
  # spacelift-worker-pool.yaml will be generated in a pre-plan hook
  - spacelift-worker-pool.yaml
The kustomization file is used to tell kubectl where to find the file containing the output of the helm template command and prevents kubectl from attempting to apply every YAML file in your repository.
Create Worker Cluster Stack
In Spacelift, click the Add Stack button to create a Stack.
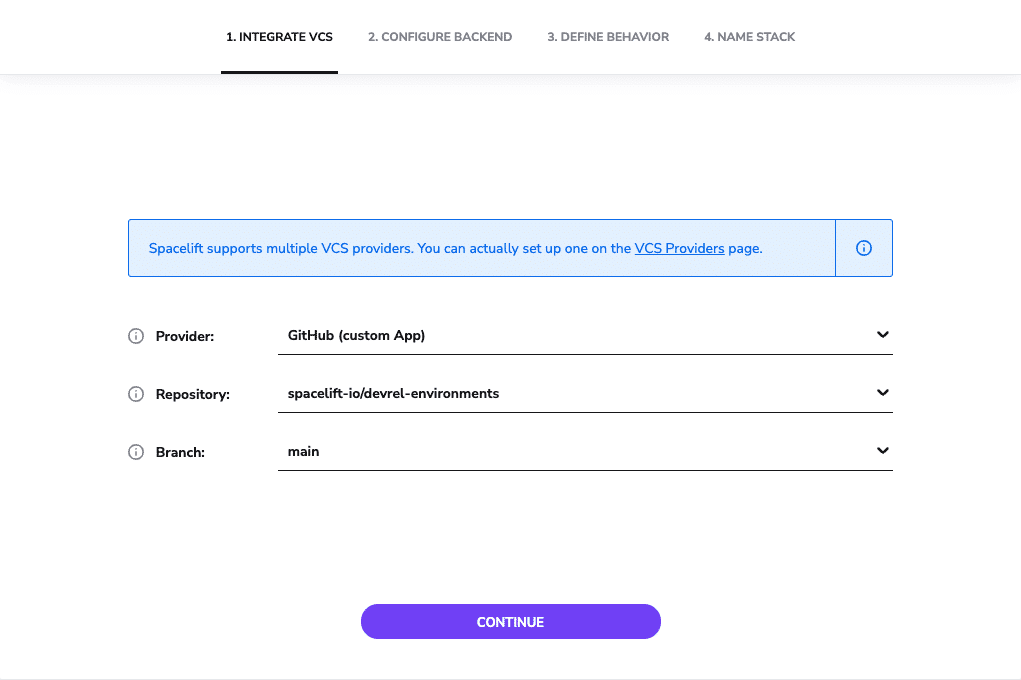
Integrate VCS
- Select the repository you created in the initial step, as seen in the picture.
Configure Backend
For this example, select the Kubernetes backend.
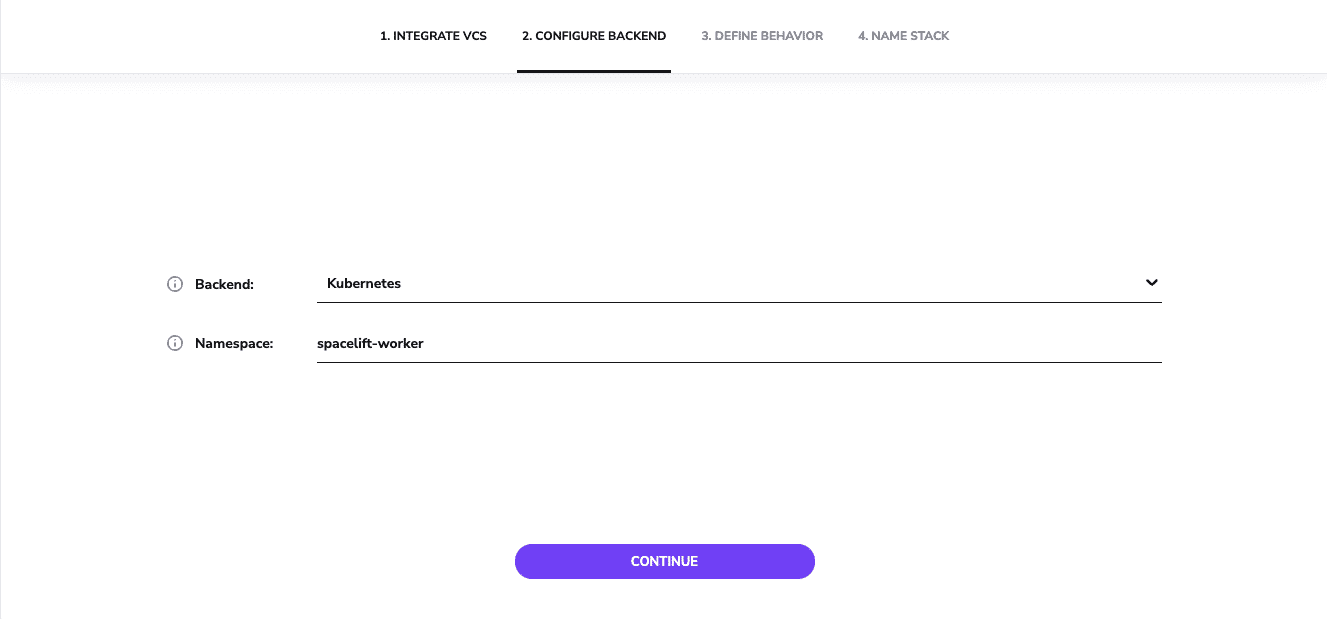
Type in spacelift-worker into the Namespace field. This namespace will be utilized for all deployments associated with this Stack.
Define Behavior
Select the arrow next to Show Advanced Options to expose the advanced configuration options.
The following options should be reviewed and validated.
- Worker Pool: Depending on the maturity of your environment. By default, the none – use shared option will work.
- Runner Image: Spacelift does not provide an image that includes helm, which is required in this step. You must provide your own image.
- Customize workflow: During the initialization phase, you must specify the following commands:
aws eks update-kubeconfig --region $region-name --name $cluster_namehelm repo add spacelift https://downloads.spacelift.io/helmhelm repo updatehelm template spacelift-worker-pool spacelift/spacelift-worker --set "replicaCount=$SPACELIFT_WORKER_REPLICAS" --set "credentials.token=$SPACELIFT_TOKEN" --set "credentials.privateKey=$SPACELIFT_WORKER_POOL_PRIVATE_KEY" > spacelift-worker-pool.yaml
We will provide the necessary environment variables at a later stage.

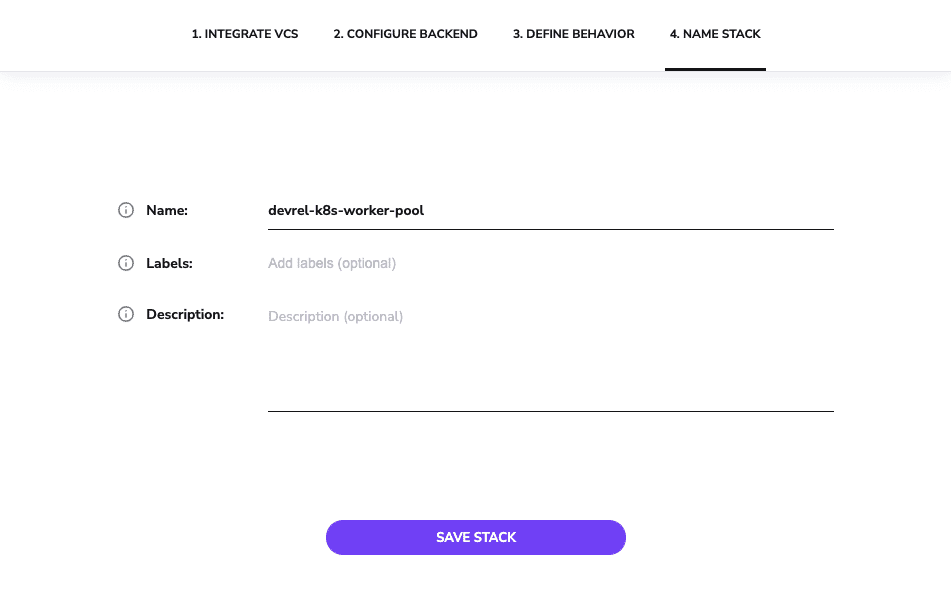
Name Stack
Provide the name of your Stack. Labels and Description are not required but recommended.
Environment Variables
To simplify the deployment and improve security, I have chosen to set up variables within the Stack. Each variable is used at different times throughout the deployment process.
- SPACELIFT_WORKER_REPLICAS
- Defines the number of replicas deployed for use in the worker pool
- SPACELIFT_TOKEN
- This specific variable was provided earlier in the CSR phase and should be associated accordingly.
- SPACELIFT_WORKER_POOL_PRIVATE_KEY
- This private key was created earlier during the CSR phase and should be added appropriately.
Cloud Integration
Navigate to the Settings, Integrations page and select the dropdown arrow to access the following selection screen:
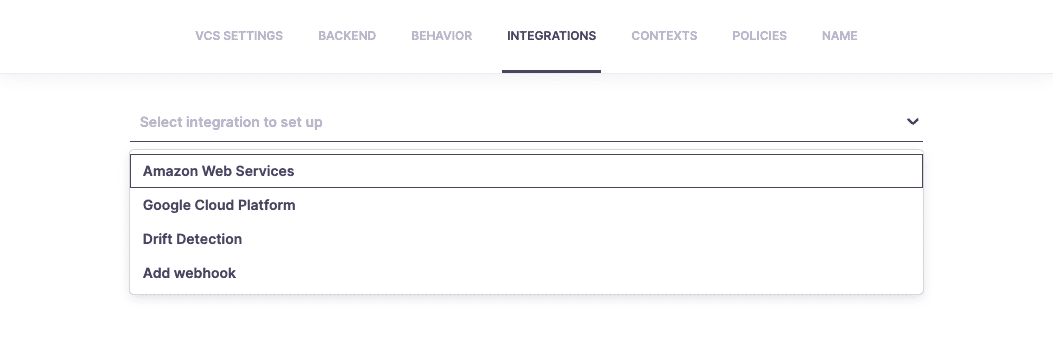
The following links will help you set up the necessary integration with your Cloud Provider of choice.
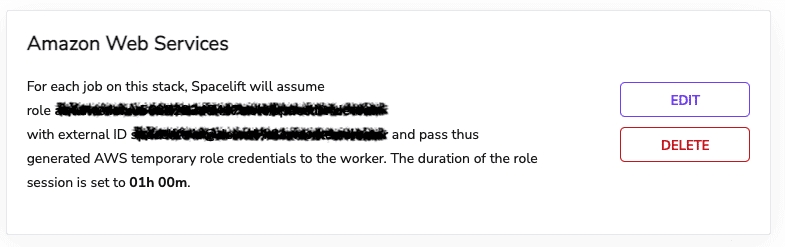
To simplify things, I decided to utilize an AWS role that already exists with the necessary permissions to provide the resources needed to be associated with this Terraform example.
Deploy Test Kubernetes Deployment
Trigger a Run
To Trigger a Run, select Trigger on the right side of the Stacks view.

Trigger Run Status
Planning
After you manually trigger the Run in the Stack view, Spacelift will deploy a runner image, initialize the Cloud Provider, and run a Terraform Plan based upon the contents of the terraform code.
After a successful planning phase, you can check the log to see the planned changes.

To confirm the Triggered run, click the CONFIRM button at the top of the screen.
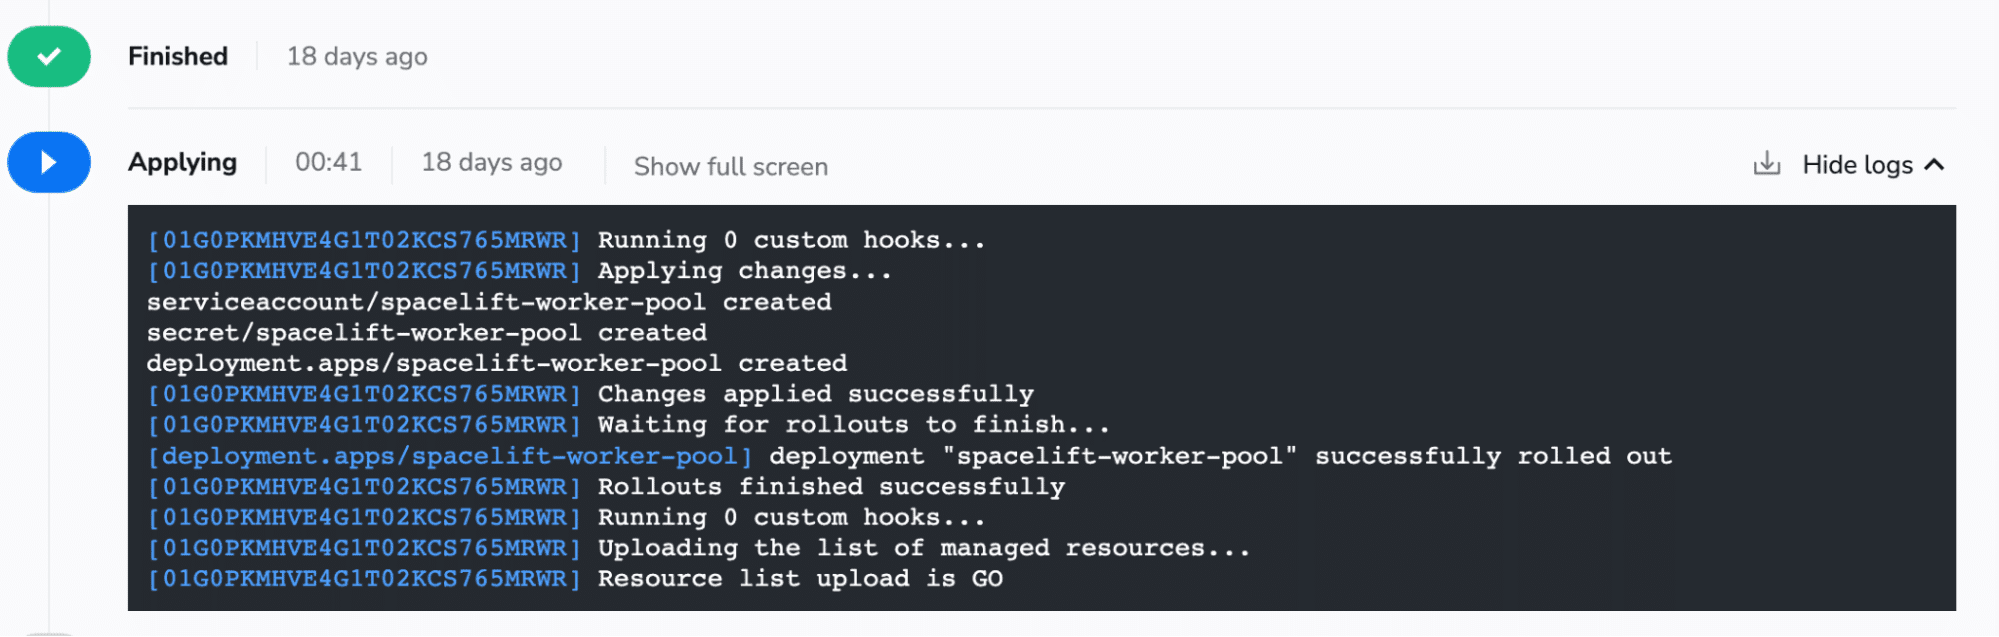
Finished Deployment
The following screen highlights the Finished Run and output from a successful deployment to your Kubernetes cluster.
Blast off to Spacelift
Get started on your journey by signing up for a Free Trial and taking it for a spin around the world! Sign-up is as easy as authenticating with the provider of your choice.
The most Flexible CI/CD Automation Tool
Spacelift is an alternative to using homegrown solutions on top of a generic CI. It helps overcome common state management issues and adds several must-have capabilities s for infrastructure management.
